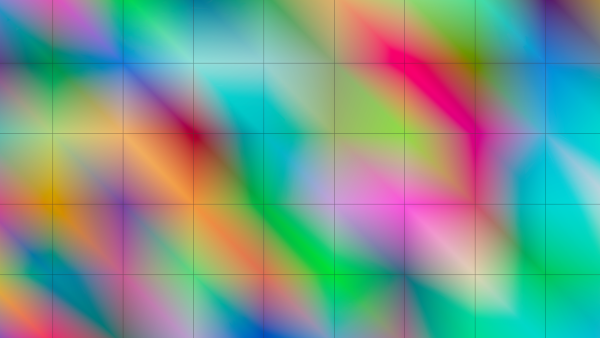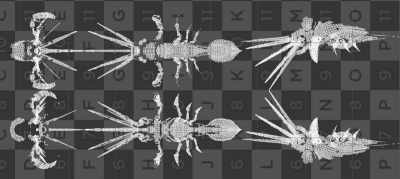
Cubic textures projections in VEX based on surface normals.
Let's write a cubic texture unwrapper in VEX, which converts top, bottom, front, back, left and right sides of a 3D mesh into two-dimensional texture coordinates. The UV unwrap node offers a similar functionality out of the box.
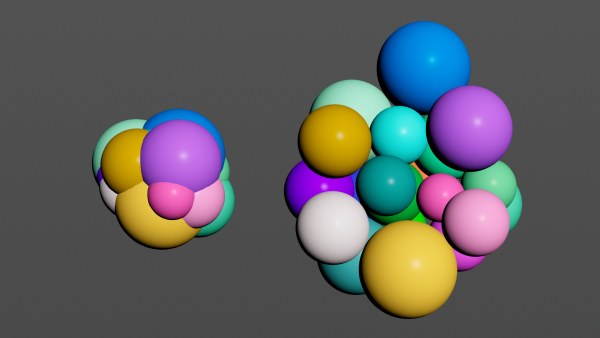
First we'll gather overall information about the mesh such as the relative bounding box, its absolute size and aspect ratio. Next we will split the mesh in order to assign each part to a specific projection view. Lastly we will layout all projections so they do not overlap.
        vector bbox = relbbox(0, @P);
vector size  = getbbox_size(0);
vector ratio = size / max(size);
vector scale = bbox * ratio;
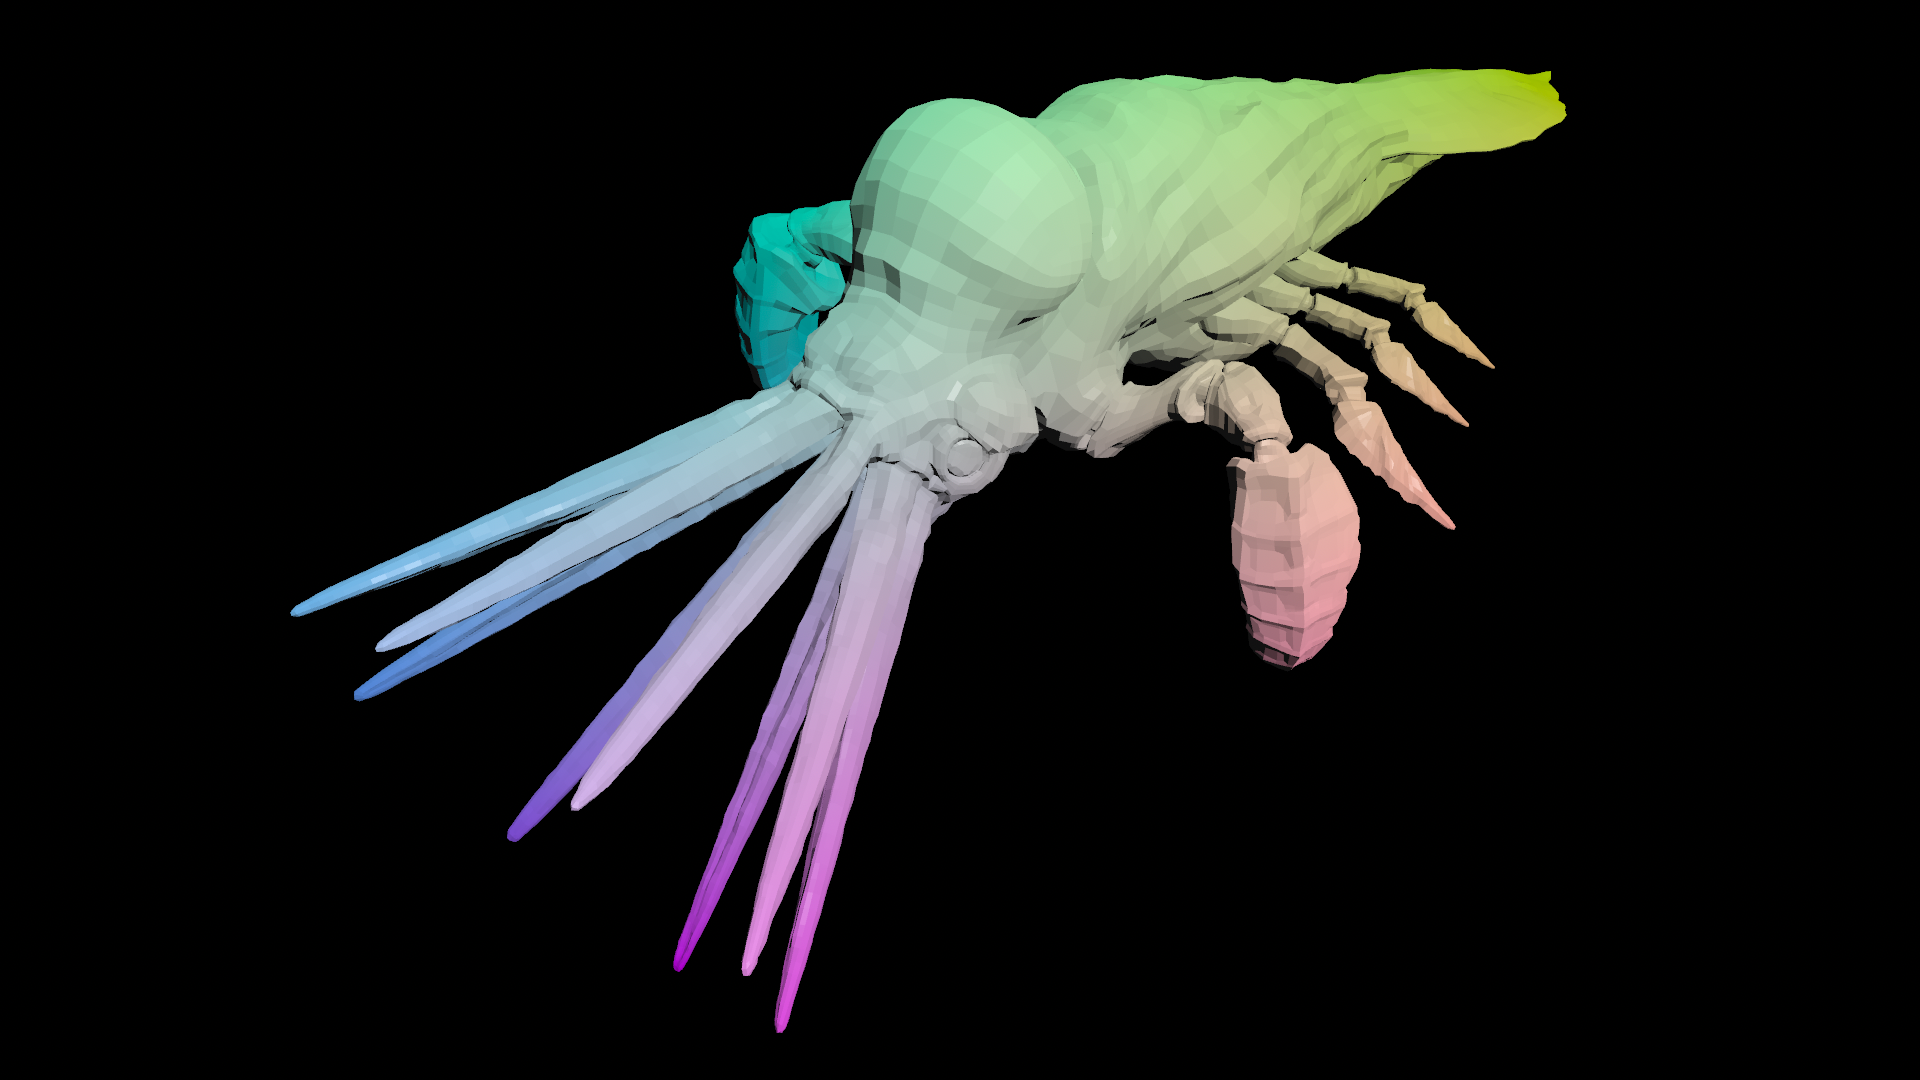
relbbox() creates linear gradients along each axis of the object from 0.0 to 1.0. Those can be spread out in UV space later.getbbox_size() returns the absolute dimensions of the object. While we don't care about the actual size, we need to factor in how those dimensions relate to one another:size / max(size) Dividing all dimensions by the biggest one effectively scales them to unit size while keeping the proportions. This is the aspect ratio for X, Y and Z.bbox * ratio combines the gradients on all mesh points with the overall aspect ratio. All projections fit proportionally onto the UV grid now, we only need to split them up and lay them out.
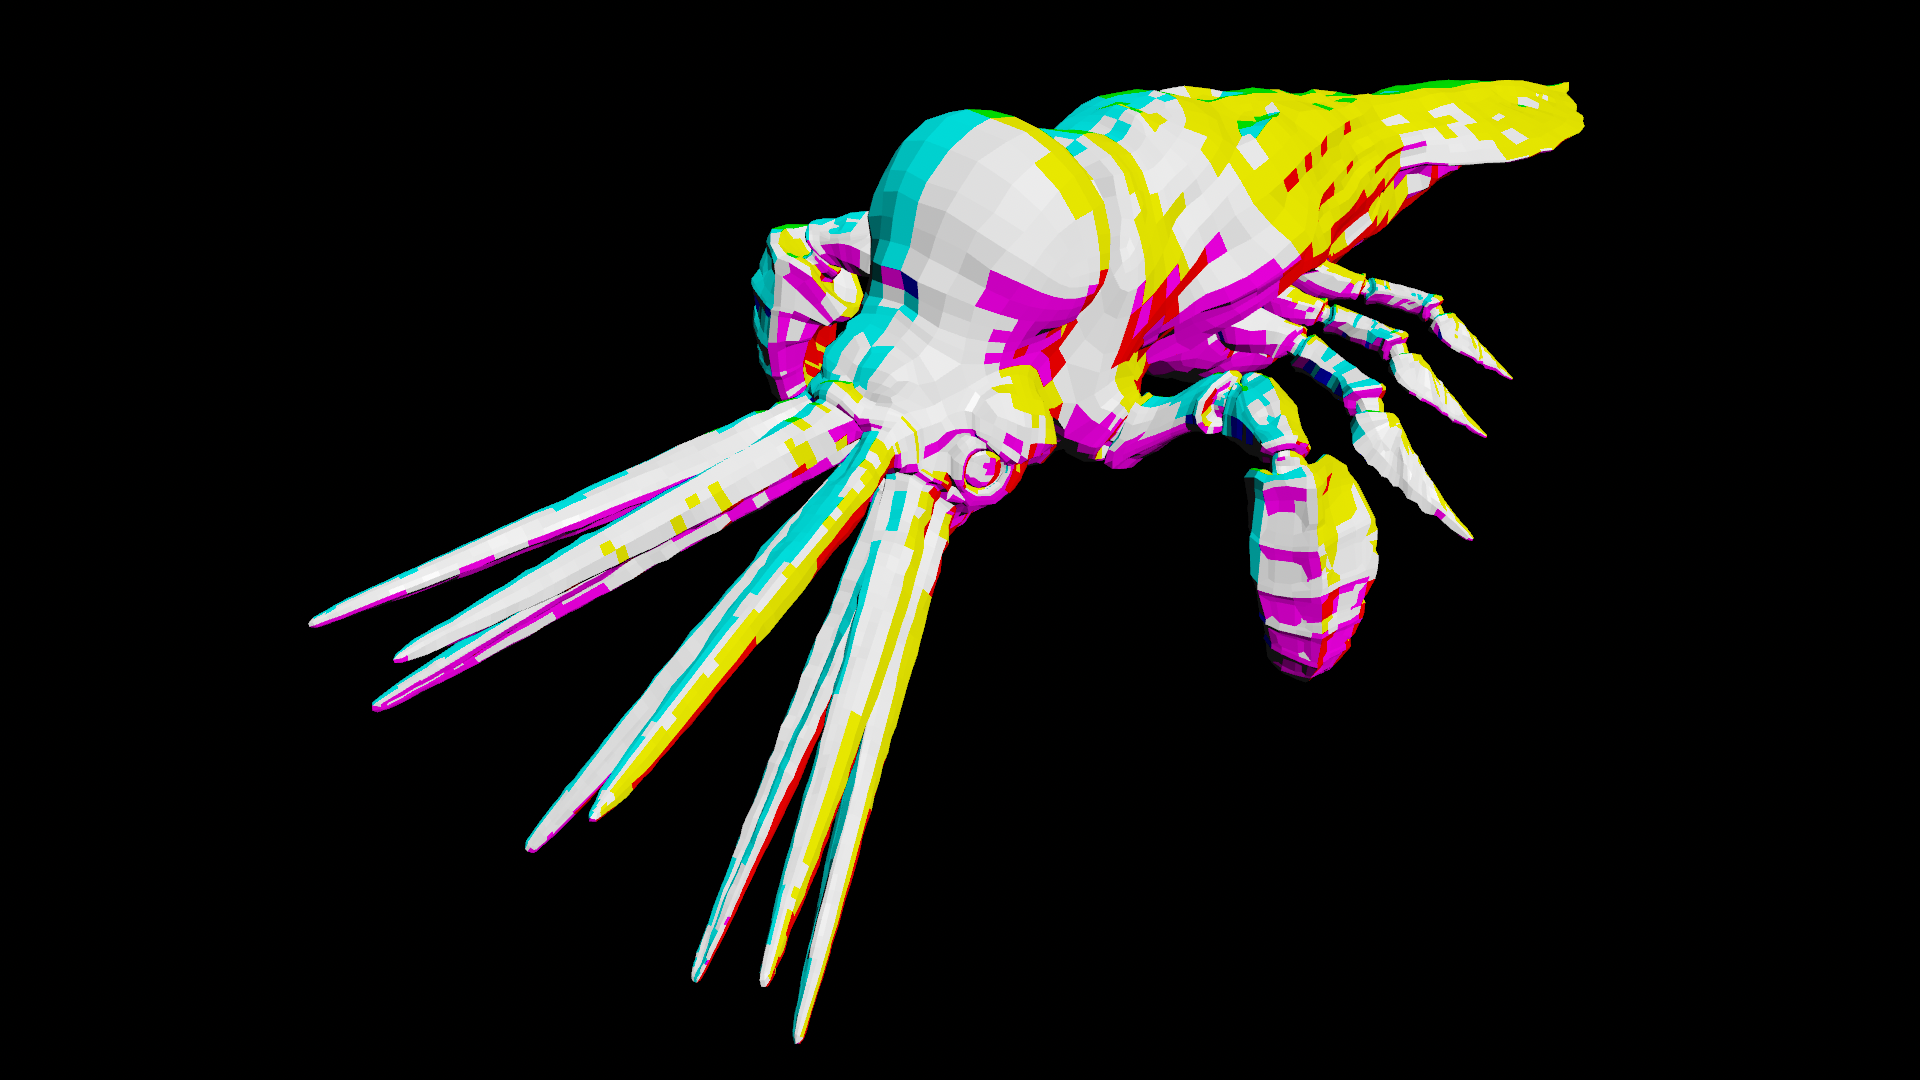
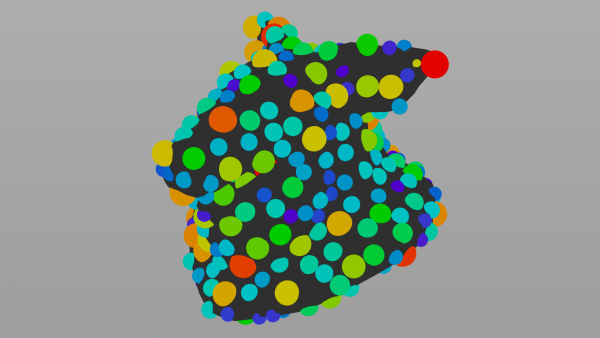
        vector side = sign(v@N);
vector nml  = abs(v@N);

if      (nml.x == max(nml)) { ...	}
else if (nml.y == max(nml)) { ...	}
else                        { ...	}
sign(v@N) decides towards which side the normals point to. Its either left or right, top or bottom, front or back. Later this will compensate for abs(v@N) setting all normals to positive values. So we can easily compare which direction they are mainly facing, using:
if (nml.x == max(nml)) for X,else if (nml.y == max(nml)) for Y and else for Z. By comparing each absolute component with the normals' maximum, we split the geometry into UV islands.
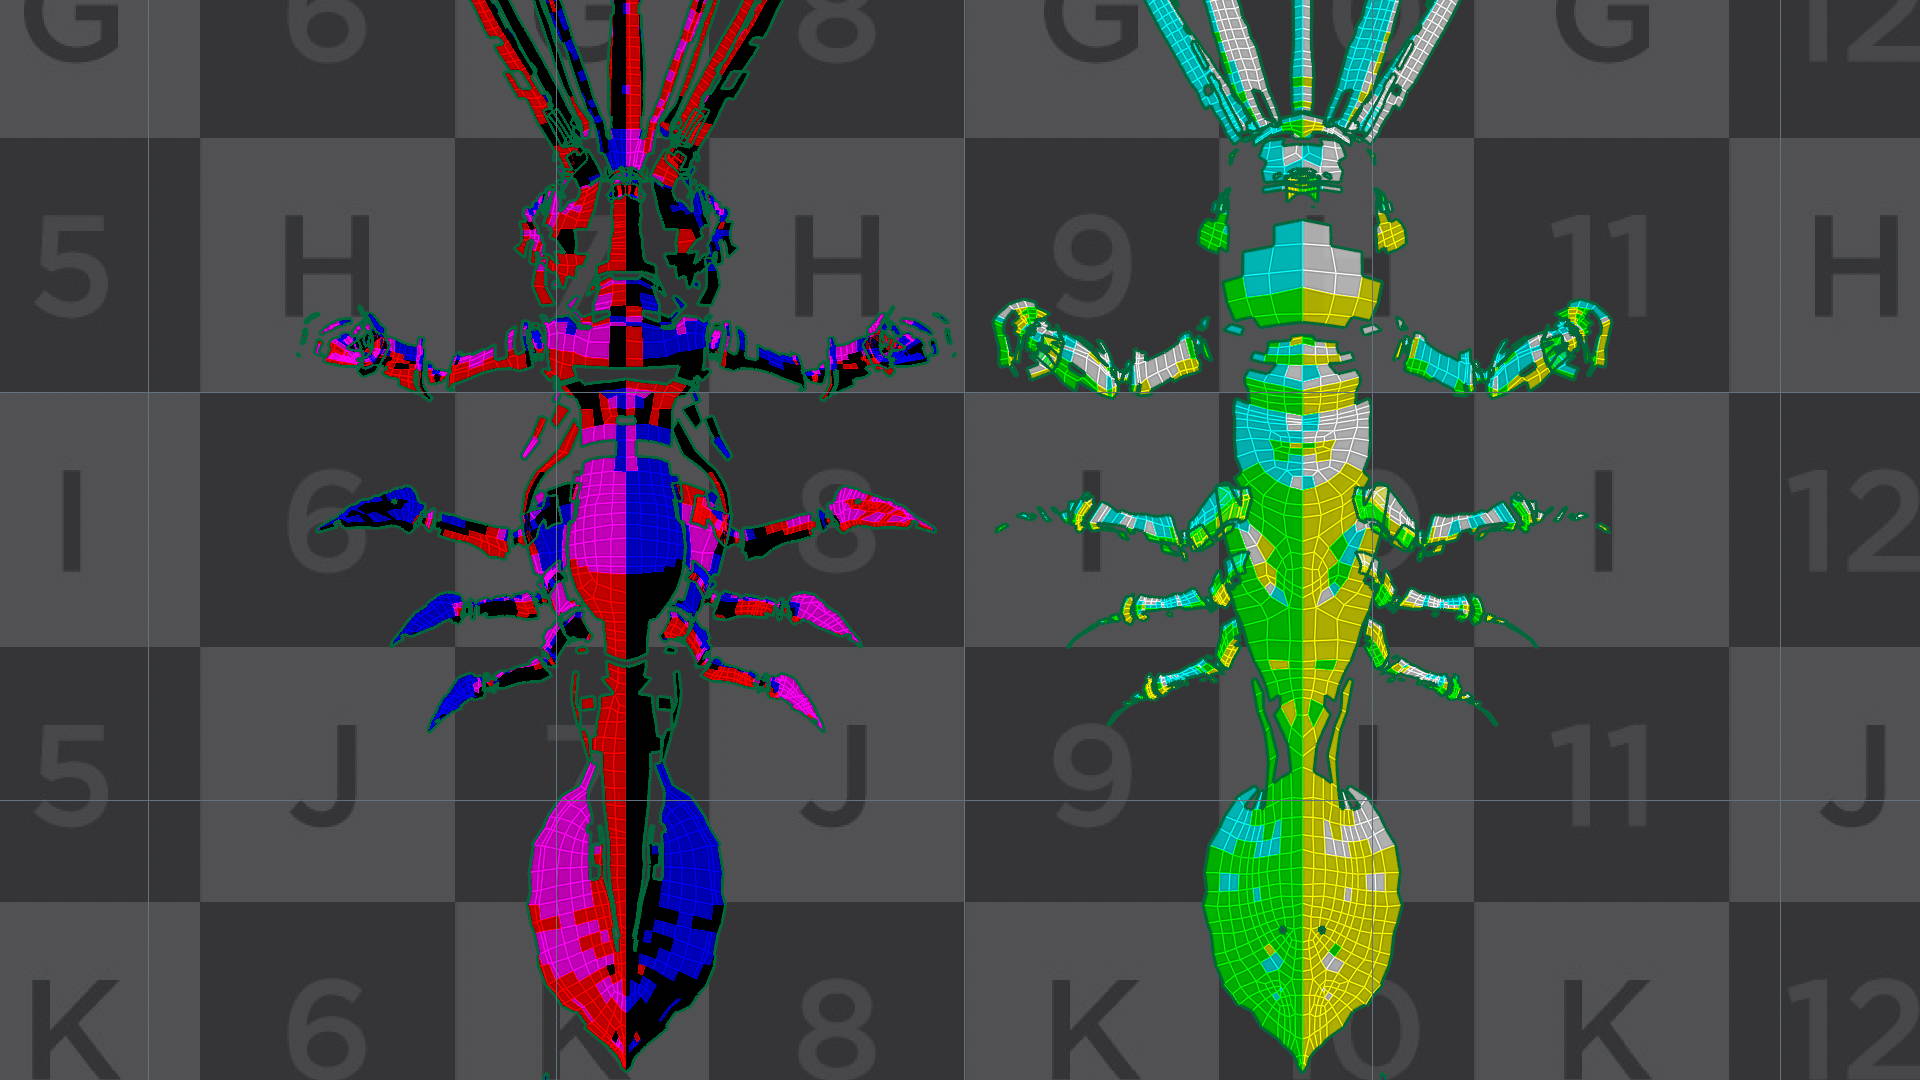
        if      (nml.x == max(nml)) { @uv = set(scale.y * side.x, scale.z, 0);             }
else if (nml.y == max(nml)) { @uv = set(scale.x * side.y, scale.z, 0); @uv.y += 1; }
else                        { @uv = set(scale.x * side.z, scale.y, 0); @uv.y += 2; }
@uv *= 0.3333;
@uv.x += 0.5;
set(scale.x * side.y, scale.z, 0); Depending on which side has won, the UV coordinates are composed of either top or side views (first component) and front or side views (second component). Setting the scale variables negative can be used to sort out direction issues.
*side.x, *side.y and *side.z are simply flipping directions in case the normal directions have been negative. Thus getting their own islands on the left side.
@uv.y += 1; and @uv.y += 2; are moving the UV islands upwards, so they are not landing on top of each other.
@uv *= 0.3333; Currently UV coordinates span across six unit spaces, so we scale them down to fit into one.
@uv.x += 0.5; Because of flipping the sides we also have to move all our coordinates to the right by half.
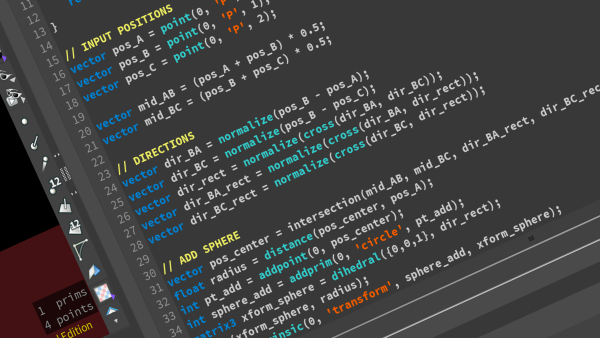
The complete VEX code to be used inside a vertex attribute wrangle:
        vector bbox = relbbox(0, @P);
vector side = sign(@N);
vector nml  = abs(@N);

vector size  = getbbox_size(0);
vector ratio = size / max(size);
vector scale = bbox * ratio;

if      (nml.x == max(nml)) { @uv = set(scale.y * side.x, scale.z, 0);             }
else if (nml.y == max(nml)) { @uv = set(scale.x * side.y, scale.z, 0); @uv.y += 1; }
else                        { @uv = set(scale.x * side.z, scale.y, 0); @uv.y += 2; }

@uv *= 0.3333;
@uv.x += 0.5;
There are two forum posts in which this VEX code is discussed and subjected to a practical test:
odforce: https://forums.odforce.net/topic/18451-uv-cubic-map-procedurally/
SideFX: https://www.sidefx.com/forum/topic/51666/