Deriving contour lines from raytracing depth.
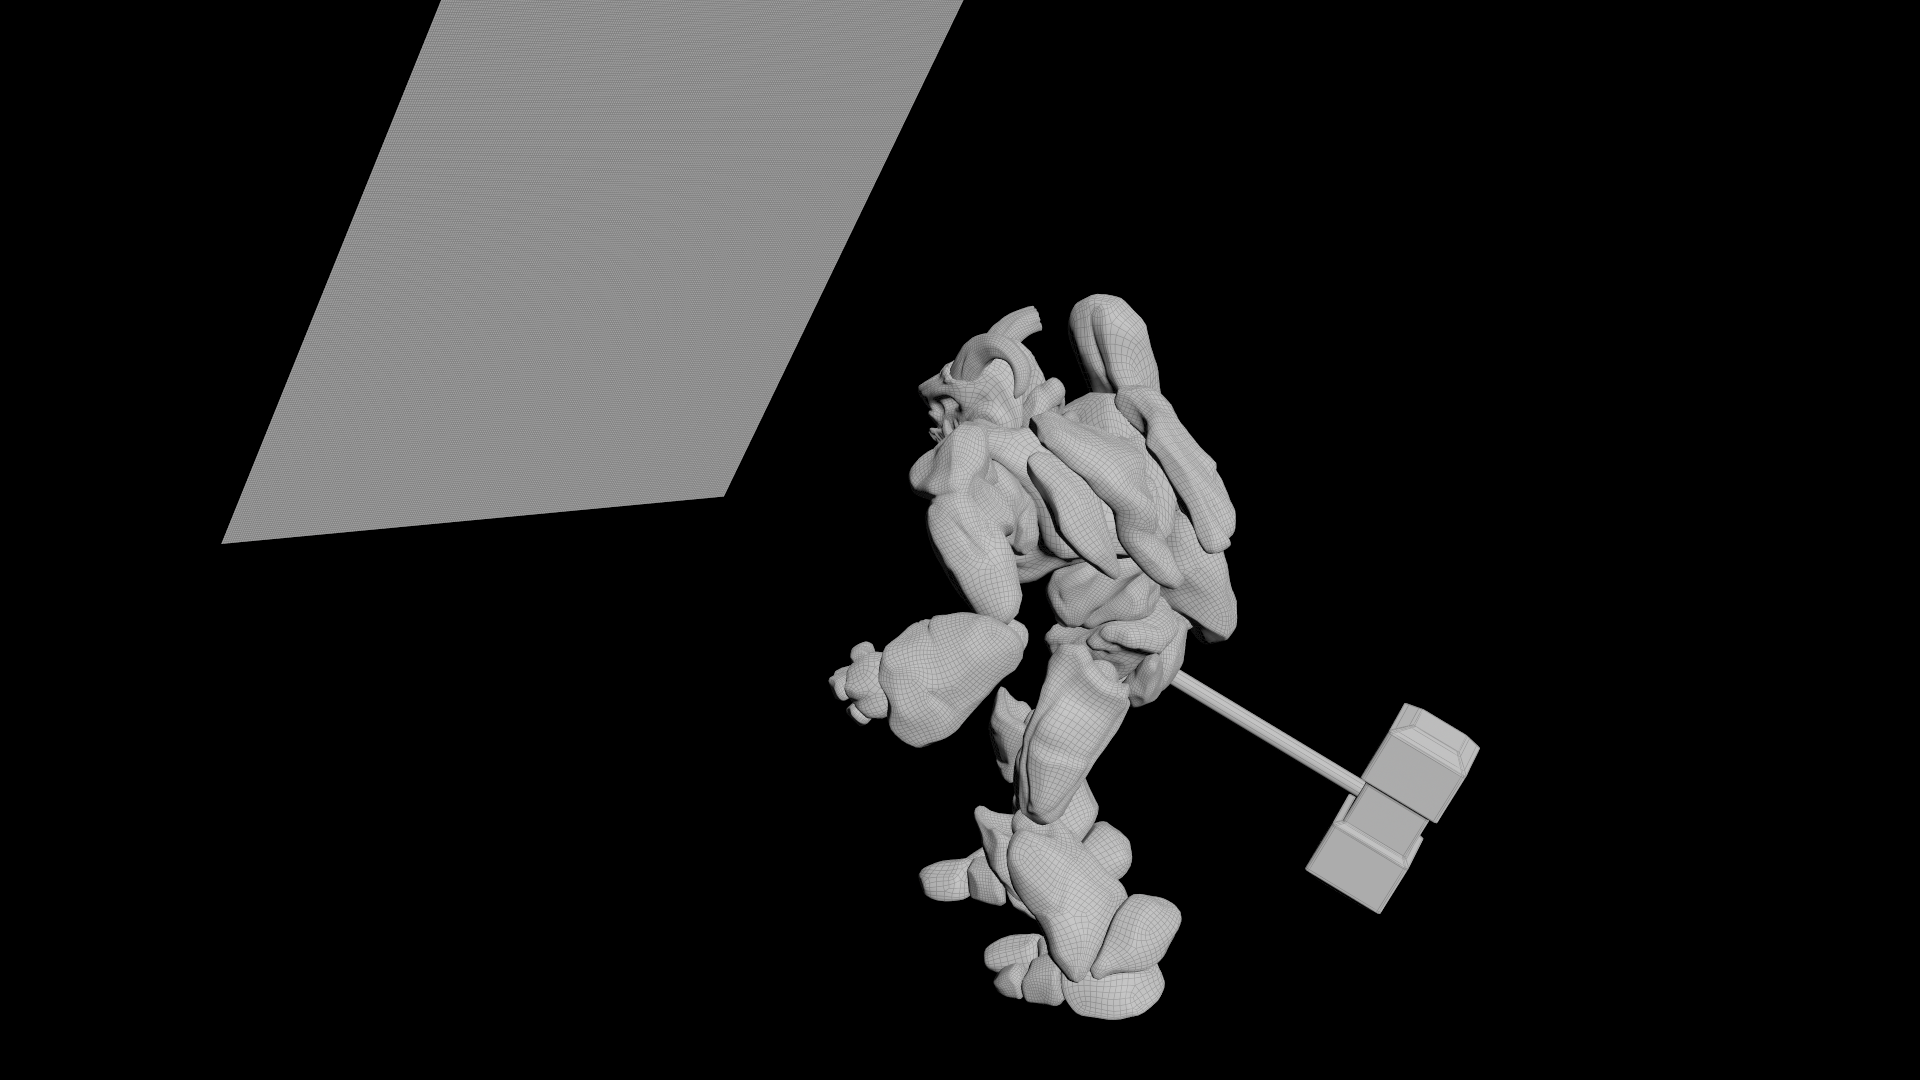
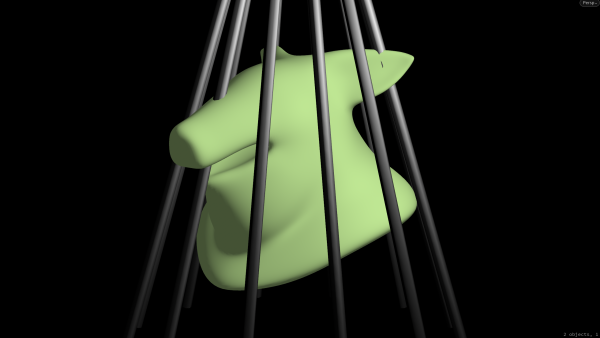
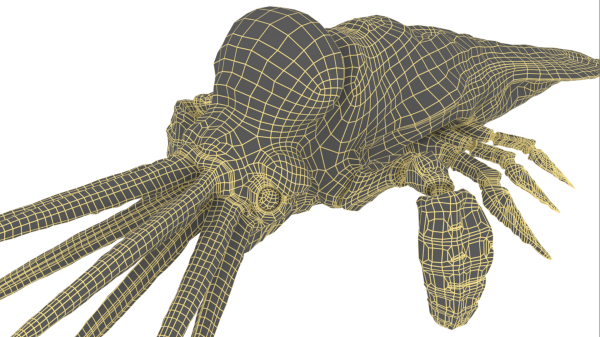
Put Craig in the center of the scene and convert him to polygons so we will be able to trace him later. Next set up a grid with a resolution of 256*256 on the XY axis and append a rest node to store the current point positions.
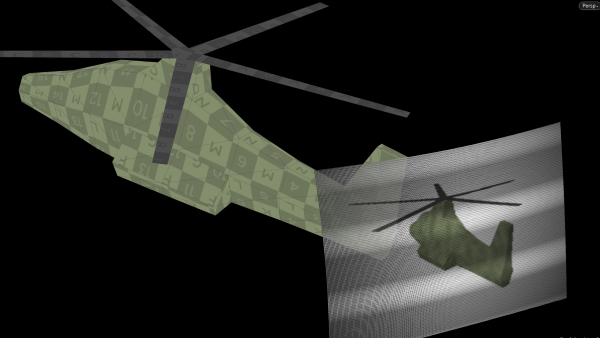
Transform the grid to make it look down on Craig. We will use this grid both as a camera sensor while its floating and as a movie screen once its set back to the initial position.
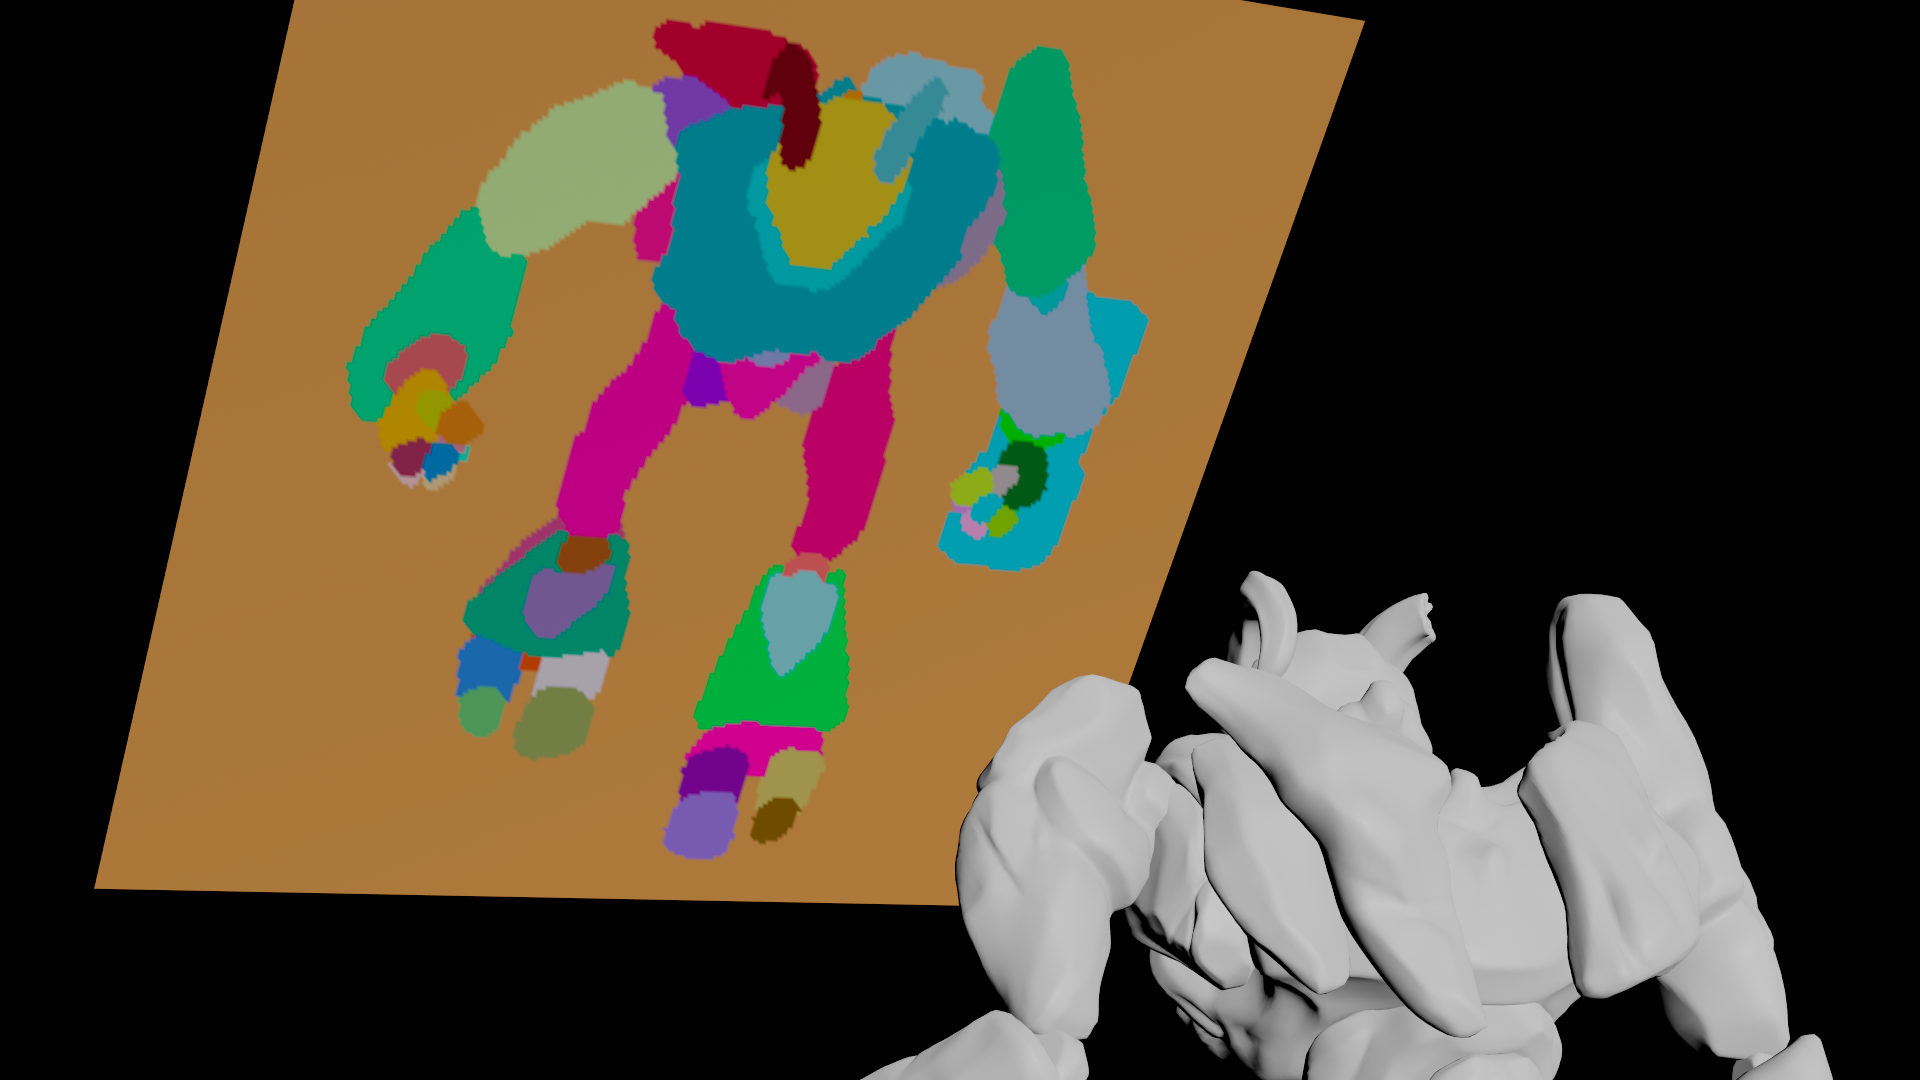
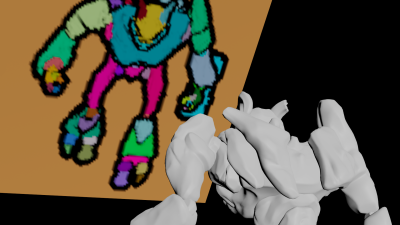
With the Ray node we will shoot rays from the grid points towards our character. Instead of transforming the points however, we will just store the intersection distance.
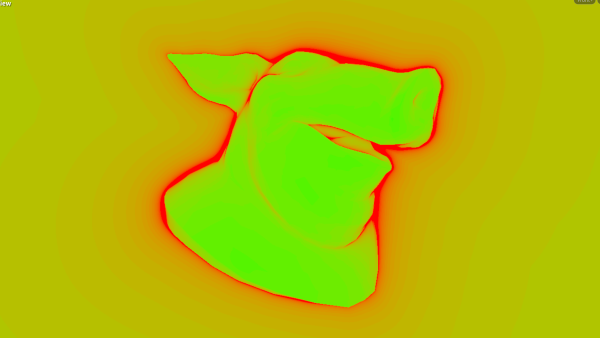
In case of Craig we can also import the primitive attribute 'name', based on which we will randomly colorize each body segment on our grid.
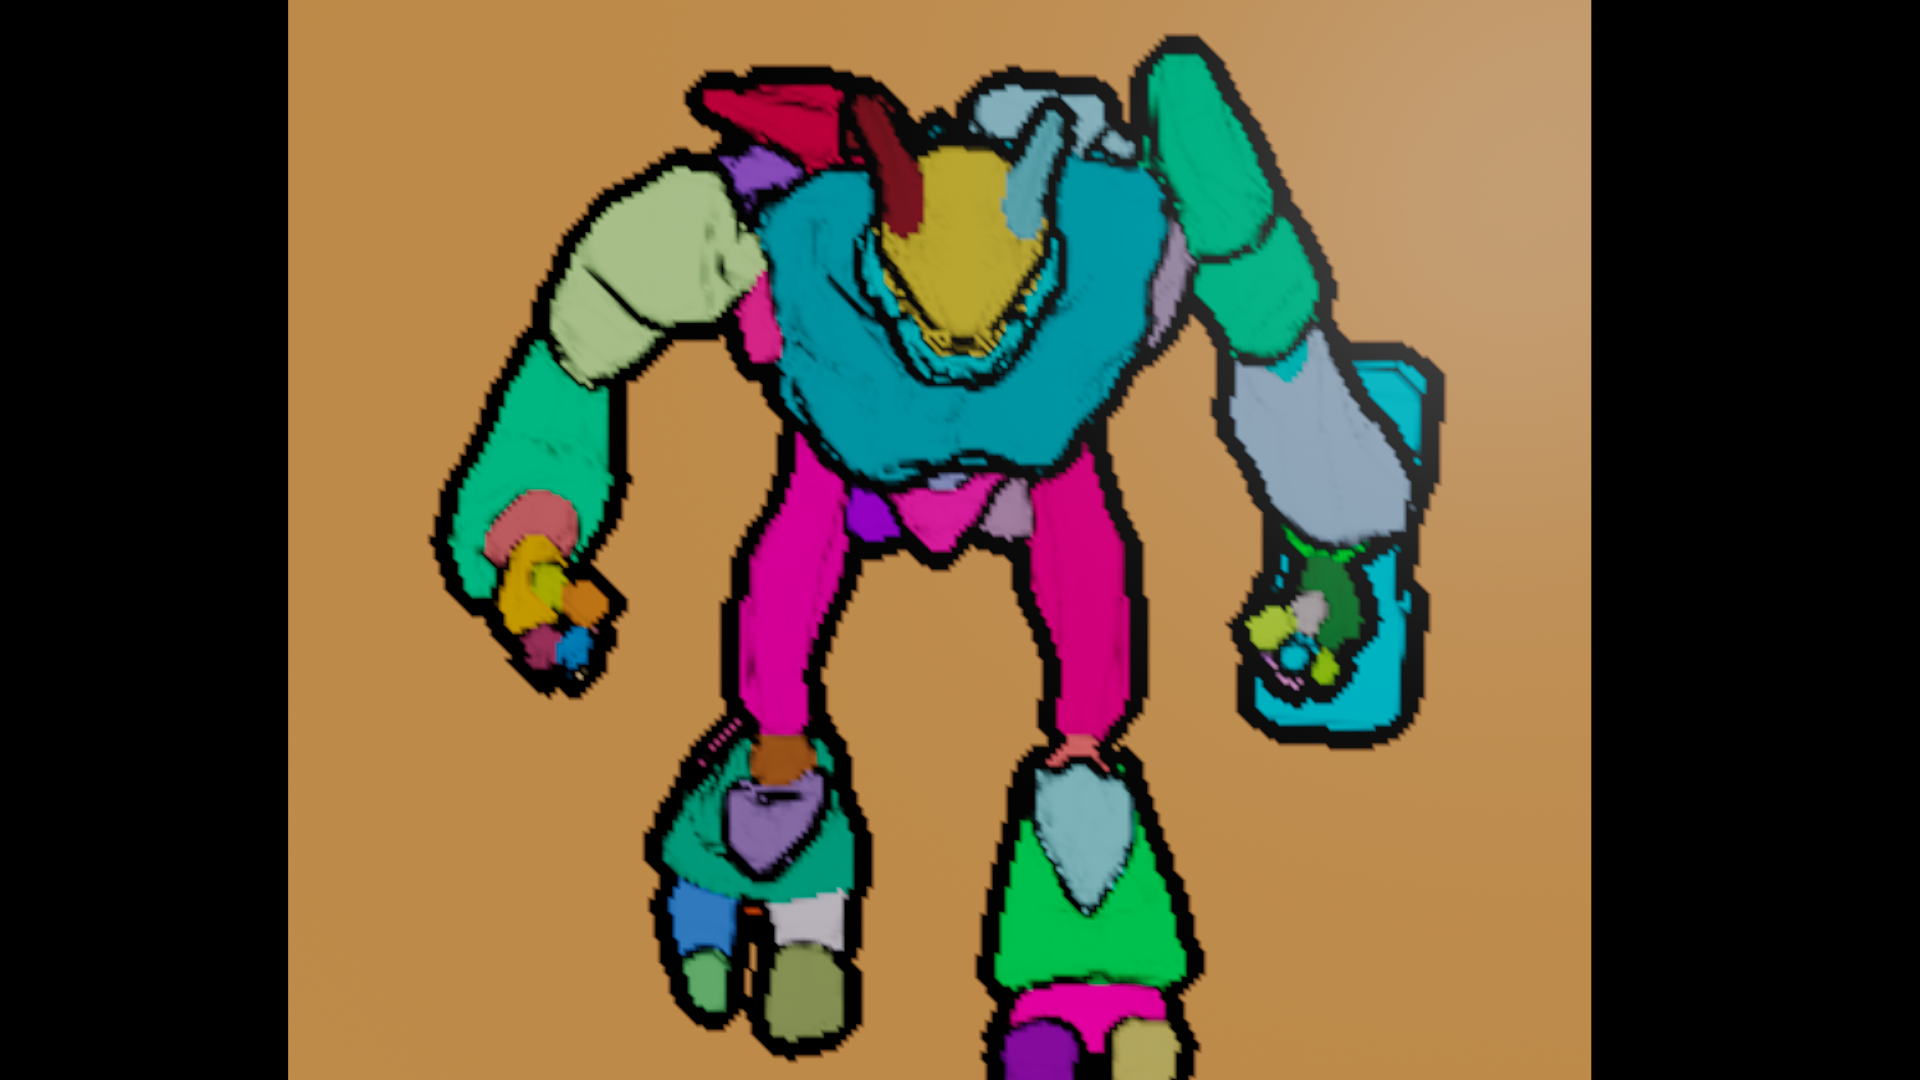
Lastly we'll add some outlines by detecting edges on our distance map. Much like a sharpening filter, we will first blur the intersection distance and then compare it with the original values: abs(f@dist - f@opinput1_dist). An (inverted) smooth function will intensify the contrast even further.
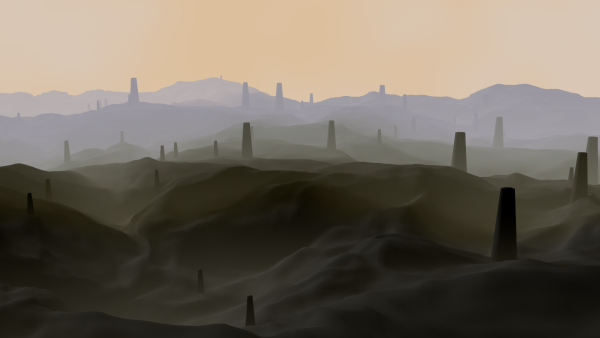
The resulting contours get multiplied on the incoming color attribute v@Cd *= mask; and we will restore the rest position v@P = v@rest; to make the grid stand straight again. Now click play to see the cartoon version of Craig walking on the screen!
        float diff = abs(f@dist - f@opinput1_dist);
float mask = 1.0 - smooth(0.0, 0.01, diff);

v@Cd *= mask;
v@P = v@rest;

Another approach is convolving the normals. See cartoon_nml_convolve.hipnc